Wi-Fi Jammer from an ESP8266 | WiFi Jammer/ Deauther
Scan for WiFi devices, block selected connections, create dozens of networks and confuse WiFi scanners!
Step 1: Parts


Step 1: Parts

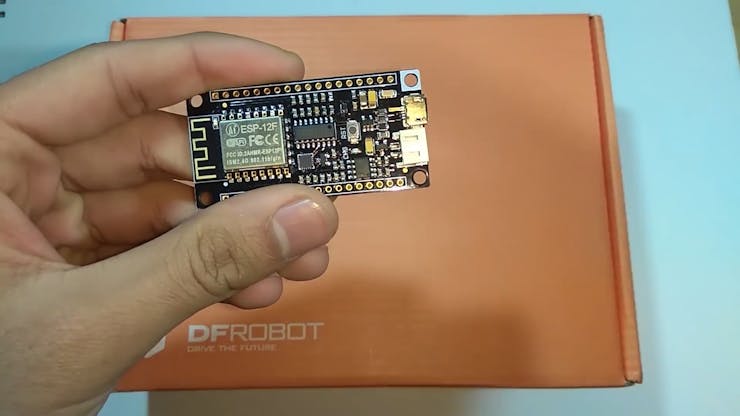
The Firebeetle board ESP8266
Step 2: Download and set up the Arduino IDE
Download the Arduino IDE from here
1. Install the Arduino IDE and open it.
2. Go to File > Preferences

3. Add http://arduino.esp8266.com/stable/package_esp8266com_index.json
to the Additional Boards Manager URLs.
to the Additional Boards Manager URLs.
4. Go to Tools > Board > Boards Manager
5. Search for esp8266 and then install the board.
6. Restart the IDE.
Step 3: Coding the module
1. Download the repository(Release Version 1.5): https://github.com/akarsh98/esp8266_deauther
2. Extract the downloaded folder and navigate to the following path to open the file in Arduino IDE. esp8266_deauther-master/esp8266_deauther/esp8266_deauther.ino
3. Navigate to Tools > Board. Select the appropriate board that you are using NodeMCU(12E) works in most of the cases.
5. Select the correct comm. port by going to Tools > Port.
6. Hit the upload button.
7. When the tab says Done Uploading you are ready to use the device.

After uploading open the serial monitor to view the following details
Step 4: Playing with the device
1. Connect the module with a power supply using the micro USB connector onboard or just switch on the switch if you have connected a battery like I have done.
2. As soon as the module is connected a WiFi named pwned will be hosted. You will have to connect to this WiFi network using a phone or a laptop and enter the password as deauther.
3. When connected to the device, open an internet browser and navigate to 192.168.4.1. This is the main website from where you can control everything
4. Now select the WiFi network you want to attack.

5. Move over to the attack tab and select the type of attack you want to perform as:

6. CONGO! the device is working as expected.
Step 5: My device
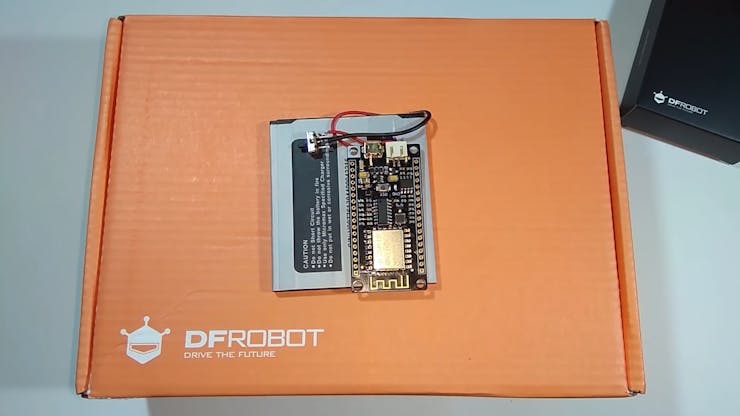
I added a battery and a switch and hot glued everything.


No comments: